
"As an Amazon Associate, I earn from qualifying purchases. This helps support this site at no extra cost to you."
The best liquid temperature for poaching chicken is generally around 160°F to 180°F (71°C to 82°C). The liquid should be hot with little movement, not violently bubbling like a rolling boil.
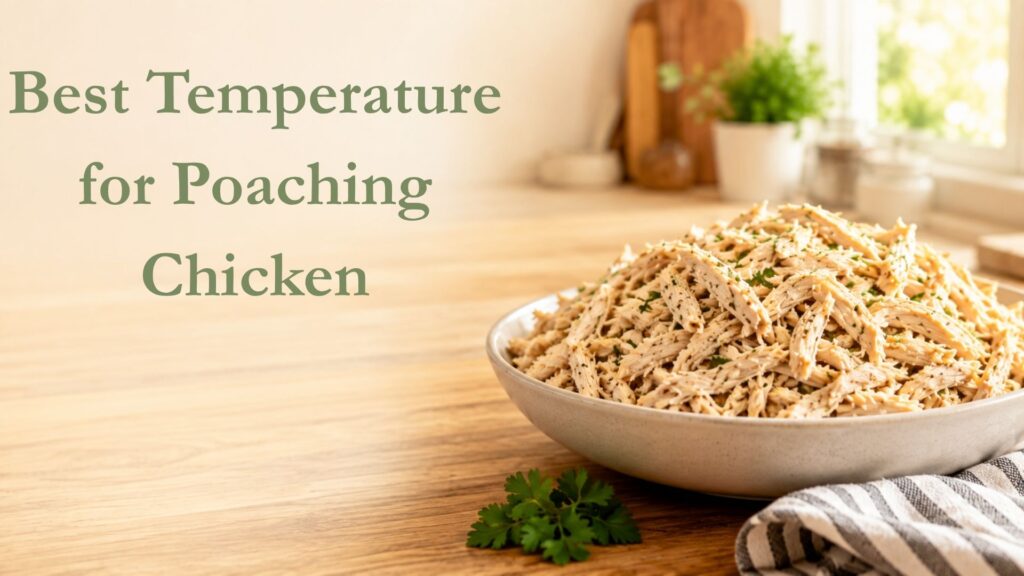
This temperature range is central to poaching chicken for easy shredding because the goal is to transfer enough heat into the center while limiting unnecessary tightening and moisture loss in the outer muscle fibers.
Poaching Temperature at a Glance
| Liquid condition | Approximate temperature | What you see | Effect on chicken |
|---|---|---|---|
| Warm but too low | Below about 160°F | Little visible activity | Cooking progresses slowly |
| Gentle poaching range | 160°F to 180°F | Mostly calm, occasional small bubbles | Controlled heat transfer |
| Gentle simmer | About 180°F to 200°F | Steady small bubbles | Faster cooking, less forgiving |
| Rolling boil | About 212°F at sea level | Constant vigorous bubbling | More aggressive protein tightening |
Why Temperature Matters for Shredding
Chicken muscle consists of bundles of protein fibers. Heating changes those proteins, causing them to firm and contract. At the same time, connective structures soften enough for fully cooked meat to separate into strands.
Higher heat does not automatically produce better shredding. It can cause the outer fibers to tighten too quickly and squeeze out moisture before the center is ready.
Poaching keeps the liquid temperature lower than boiling, creating a smaller temperature difference between the cooking liquid and the chicken surface. That gives heat more time to move gradually toward the center.
What Should the Liquid Look Like?
You do not need a thermometer in the liquid every time once you recognize the visual cues. Proper poaching liquid generally looks calm with subtle movement.
- A little steam rises from the surface.
- Small bubbles may appear around the edges or bottom of the pot.
- The chicken is not being knocked around by turbulent water.
- The surface does not constantly break with large bubbles.
If the entire surface is bubbling continuously, reduce the burner. The chicken will still cook, but you have moved from poaching toward simmering or boiling.
How to Reach the Right Temperature
- Place the chicken in an appropriately sized saucepan.
- Add enough water or broth to cover the meat by roughly 1/2 to 1 inch.
- Begin heating over medium heat rather than using maximum burner output.
- Watch for steam and the first small bubbles forming around the edges.
- Reduce the burner before the pot reaches a vigorous boil.
- Maintain the liquid at roughly 160°F to 180°F where practical.
- Check the chicken itself with an instant-read thermometer near the expected finishing time.
- Remove the chicken when the thickest part reaches 165°F (74°C).
Poaching Temperature Is Not the Same as Chicken Temperature
The liquid might be held around 170°F, but the chicken starts much colder and takes time to approach its final internal temperature. These are two different measurements.
The liquid temperature controls how aggressively heat reaches the meat. The internal chicken temperature determines whether the thickest section is done.
This is why poaching time for chicken breast remains a range rather than one exact number. Thickness determines how long the center needs to catch up.
What Happens if the Temperature Is Too High?
If the liquid climbs into a hard simmer or rolling boil, the chicken surface receives heat much more aggressively. The outer muscle proteins tighten faster and moisture is pushed from the fibers sooner.
The chicken may still shred, but breast meat can become firmer or stringier around the edges. The problem becomes more noticeable with thick breasts because their exterior remains exposed to high heat while the center finishes cooking.
What Happens if the Temperature Is Too Low?
If the liquid remains too cool, the chicken heats very slowly. Cooking time becomes difficult to predict, and the meat may spend an unnecessarily long period in the pot.
The practical solution is not to jump straight to a boil. Increase the burner gradually until the liquid returns to a stable poaching range.
Covered Pots Need More Attention
A lid traps heat and reduces evaporation, so a covered pot can rise through the poaching range faster than an uncovered one. Once the correct temperature is reached, you may need to lower the burner more aggressively.
A partially covered pot can make temperature control easier because you retain some heat while still seeing the liquid surface.
Temperature Control With Water and Broth
Water and broth behave similarly from a heat-transfer standpoint. Broth may foam slightly differently because it contains dissolved proteins, seasonings, fat, or other solids, but the same gentle temperature principle applies.
The more important difference when choosing water versus chicken broth for poaching is flavor and salt concentration rather than the basic poaching temperature.
Best Temperature by Chicken Cut
| Chicken cut | Useful liquid range | Main concern |
|---|---|---|
| Boneless breast | 160°F to 180°F | Avoid drying lean fibers |
| Large thick breast | 160°F to 180°F | Allow center to heat gradually |
| Boneless thighs | 165°F to 185°F | More forgiving but still avoid hard boiling |
| Bone-in pieces | 165°F to 185°F | Longer cooking time |
How Temperature Affects Shredding Tools
Correctly poached chicken should pull apart with relatively little force after a short rest. If the meat feels unusually firm, the issue may be overcooking, chilling, or a cut that needs more connective-tissue breakdown.
| Tool | Expected texture | Time | Trade-off |
|---|---|---|---|
| Two forks | Medium, irregular | 2 to 4 minutes | Slower but controlled |
| Hands | Coarse to medium | 1 to 3 minutes | Chicken must cool enough to handle |
| Hand mixer | Fine | 30 to 60 seconds | Easy to make strands too short |
| Stand mixer | Fine to medium | 20 to 60 seconds | Extra equipment cleanup |
| Shredder bowl | Short, controlled | 30 to 90 seconds | Separate tool required |
Common Temperature Mistakes
- Waiting for a rolling boil before reducing the heat: the chicken may already be receiving more aggressive heat than necessary.
- Leaving the lid on with the burner unchanged: trapped heat can push the liquid well beyond the poaching range.
- Confusing liquid temperature with meat doneness: chicken still needs its own internal-temperature check.
- Turning the heat high when cooking is slow: gradual adjustment gives better texture control.
- Using bubbling as the doneness test: water activity tells you about the liquid, not the center of the chicken.
Best Working Temperature
Aim for approximately 160°F to 180°F (71°C to 82°C) in the poaching liquid, with only slight surface movement. Then use the chicken’s internal temperature, not the liquid temperature alone, to determine when the thickest part has reached 165°F (74°C).